
Are you tired of spending money on bicycle repairs?
Learning how to fix your own bike is a valuable skill, not to mention one that can help you save money over time. Nevertheless, the last thing you want to do is start making mistakes and compromise the safety of your ride.
This is where a detailed guide like this one comes in handy. By learning about common bicycle repairs, you’ll feel more confident about fixing issues on your own. Thus, you’ll be able to save money over time without compromising your safety or the safety of others.
Without further ado, here are six common bicycle repairs and how to solve them.
Contents
1. Flat Tire
Fixing a flat tire can be intimidating for the novice cyclist, but with the right tools and a bit of know-how, it’s quite simple.
First, remove the wheel from the bike and remove the tire from the wheel. Use tire levers to pry off the tire and locate the puncture. If the tire is gashed, you might want to replace it rather than patch it.
Next, insert a tube patch and inflate the tire. Use a tire lever for popping the tire back onto the wheel, making sure NOT to pinch the inner tube.
Lastly, put the wheel back into your frame and inflate the tire to the correct PSI. Keep in mind that flat tires are a common occurrence, and it’s important to have a flat tire kit with the tools and supplies necessary to repair the problem.
2. Slipped Chain
Reattaching a slipped chain requires careful attention. Use a chain tool to take the rear wheel off the bicycle. Then, push the chain off the chain wheels, the crank, and the derailleur pulleys.
Secured horizontally, keep the chain taunt before attaching it back to the chain wheels. Ensure the master link is properly installed, then reattach the chain to the rear derailleur and crank.
Finally, reattach the rear wheel and secure the bolts. A slipped chain can be very dangerous and should always be attended to right away.
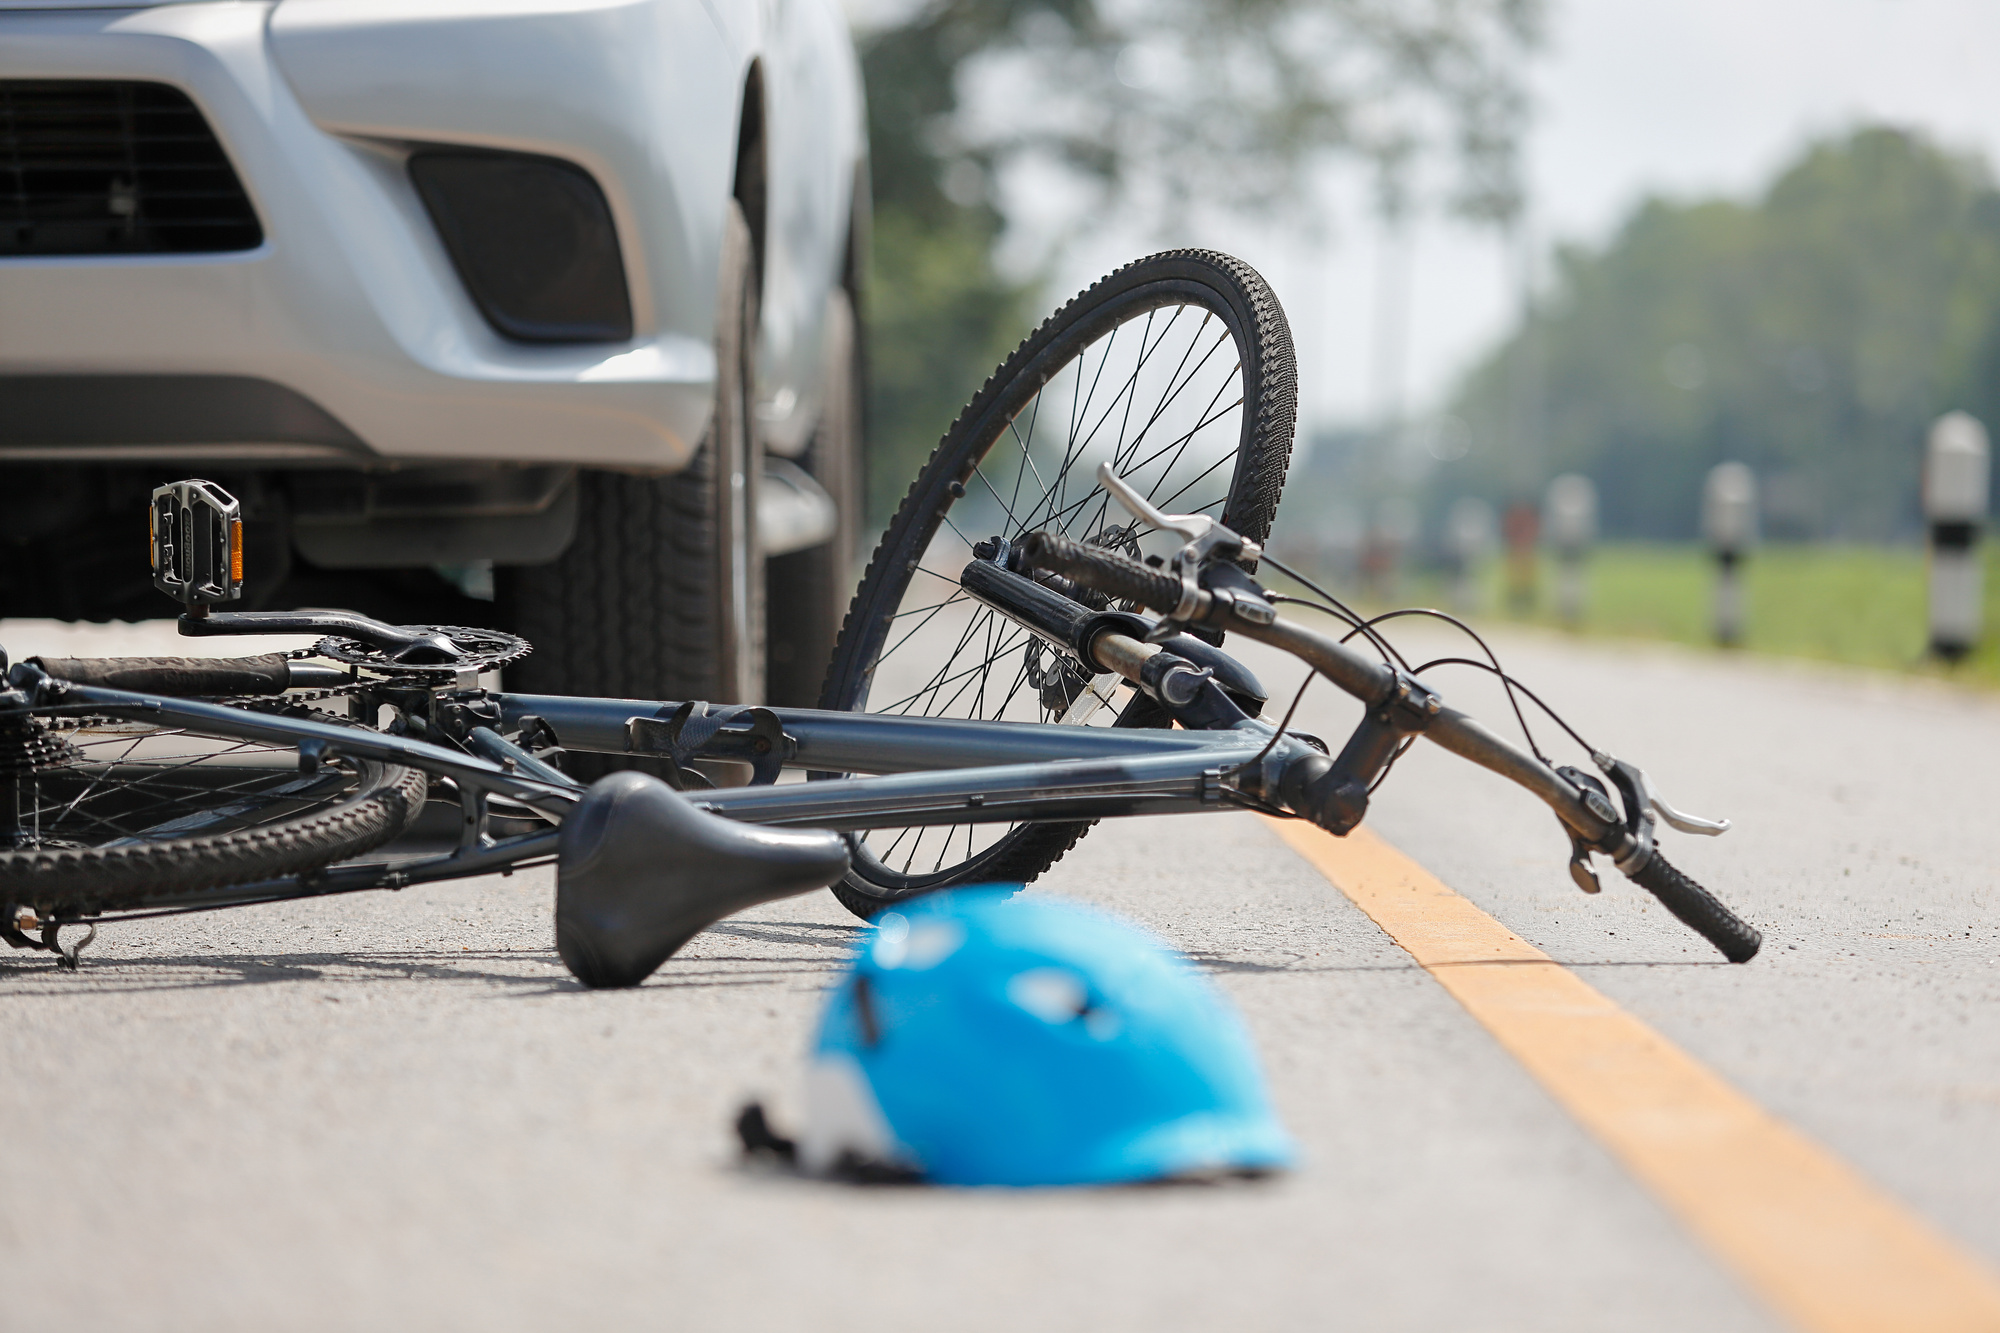
If not fixed, it can cause injuries. Hire the best bicycle accident attorney to know your rights.
3. Loose Bolts
This can be done by using a hex key wrench to loosen the lug bolts of the component, such as the saddle, stem, and handlebars, and then re-tighten them to the manufacturer’s recommended torque. You mustn’t use a power tool when tightening bolts, as this can easily strip them
Additionally, when tightening bolts, always go in a star pattern, starting in the middle and working your way out. This ensures that the component is tightened evenly and securely.
4. Stuck Seat
It occurs when the seat is accidentally overtightened, which can cause serious damage to both the seat tube and the seat post. One needs a few simple bicycle tools like an adjustable wrench, a seat post removal tool, and a lubricant to solve it.
First, place the seat in its lowest position, which will make it easier to remove it from the post. Then, use the wrench to loosen the seat post clamp bolt. If the seat post is stuck, spray some lubricant on the post to allow it to come off easier. Lastly, use the seat post removal tool to unscrew the seat post from the frame.
5. Dropped Handlebars
Wrapping drop handlebars is a standard bicycle repair for many who own a road or mountain bike. The handlebars wrap around the front of the frame and need to be securely fastened. When wrapping handlebars, the handlebar should have a slight bend to it and should be completely parallel to the frame.
To wrap drop handlebars, start by lining up the handlebar holes with the frame to install. Use a hex wrench to securely fasten the handlebar with the frame and make sure it is tightly tightened. Once the handlebars are securely tightened, wrap the handlebars around the frame with the handlebar ends facing forward.
For a safe finish, check the bolts, ends, and handlebar tape to ensure they are securely fastened. Wrapping drop handlebars is one of the most common bicycle repairs and is an easy process with the right tools and instructions.
6. Faulty Brake Pads
Replacing brake pads is a common and straightforward bicycle repair. It is important to check periodically for wear on your brake pads and replace them when necessary. To begin, remove both wheels from the bicycle frame. Undo the retaining bolt on the brake caliper and release the brake pads.
Remove the bolts on the back of the brake pad and lift out the old pads. Insert the new pads into the brake caliper and fix the retaining bolt back in place. Tighten the bolts on the back of the pads until secure.
Finally, replace the wheels, give the pads a few test runs, and adjust the pads closer to the wheel if they are not responding. Replacing brake pads is a simple repair and should be done regularly to ensure you have proper control of your bicycle.
7. Wheel Shimmy
Wheel shimmy is a common problem for cyclists. The repair starts with inspecting the wheel for loose spokes and a misaligned rim. If any of these are found, the rim should be trued, the spoke tension should be adjusted, and the hub bearings should be checked and tightened as needed. In some cases, an unbalanced wheel can also cause a wheel shimmy.
This can be fixed by adjusting the amount of spoke tension in the wheel so that the wheel remains balanced. If none of these cause the problem, then the frame could be out of alignment. This can be fixed by re-aligning the frame and checking the wheel for tension and correct spoke alignment.
If none of these fix the wheel shimmy, then the headset or the handlebars could be loose. Simply tightening the headset or handlebars should fix the problem.
Solve These Common Bicycle Repairs
Overall, bicycle repairs don’t need to be intimidating. Armed with the right tools and understanding of common repair problems, cyclists can be more confident in their abilities to know when, why, and how they should repair their bikes.
Knowing the basics of bike repair is essential to ensure safe and comfortable bike rides. Experience the freedom and joy of biking through proper maintenance and repairs.
Looking for more tips and tricks aside from how to fix a bike? If so, be sure to check out the rest of our blog for more updates!